


The Most Important Tip!
The most important thing an exhibitor should do first is read the honey show rules or show schedule carefully. Great exhibits have been disqualified due to not following the rules. If in doubt, contact the Show Superintendent.

Removing Honey Supers
- Use escape boards, shake/ brush or use a blower for getting bees off combs.
- Do not use smoke to clear bees from honey supers as it can put tiny black specks in the honey and on the surface of comb honey. In extracted honey they end up on the underside of lids.
- If using Bee Go on a fume board do not leave it on too long or the honey may absorb objectionable odors.
Extracting Honey
- Some recommend not spinning the honey with an extractor but instead to use comb honey, crushed carefully so not to introduce air, and strained through nylon cloth; or alternatively slice open the cap on the full frame and drain honey through a nylon screen. This precludes tiny bubbles being created in an extractor.
- If using an extractor warm the combs slightly and spin on a low speed.
- Honey can be heated slightly to help reduce crystals.
- When using a nylon strainer hang it near the base of the bucket. Fill with honey then slowly pull the strainer up towards the top. If it is too high the honey will fall like rain and add plenty of air.
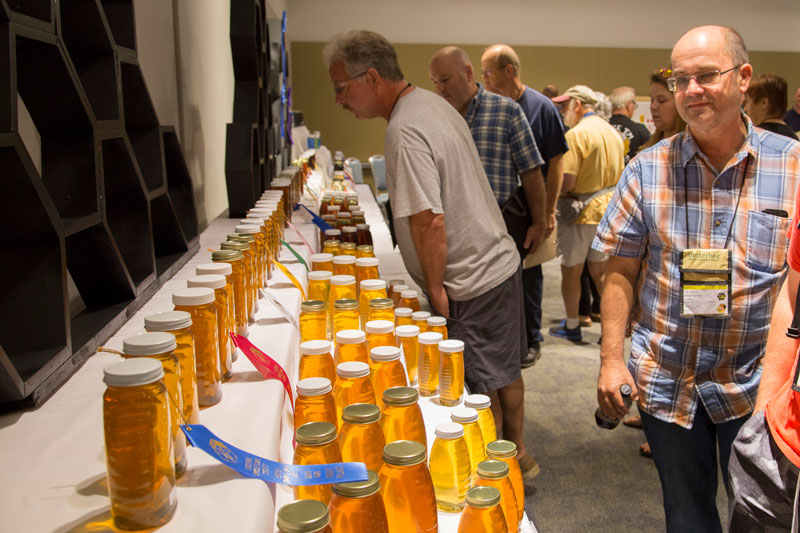
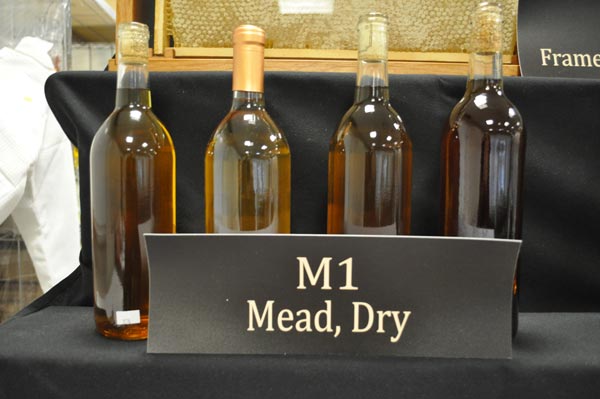
Preparing Extracted Honey Entries

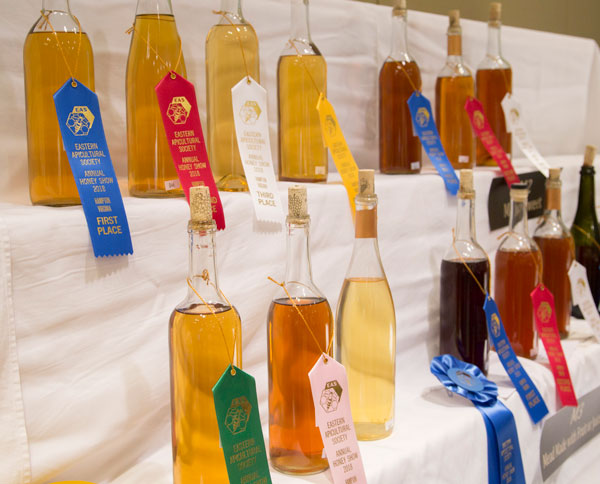
- Fill honey jars correctly. Honey must cover the fill line. The correct fill level on a “Queen-line” or “Classic” style honey jar is at the top of the fill ring of each jar. The fill ring is the raised ridge or ring of glass immediately above the shoulder of the jar, and below the closure threads. It can be distinguished from the threads in two ways: a) the fill ring forms a complete circle, without ends; and b) the fill ring will be completely parallel with the bottom and top of the jar.
- There should be enough honey in the jar to reach the top of the fill ring, without going over. Liquid honey in a circular shape forms a concave surface sometimes referred to as a meniscus. For liquid honey (including chunk comb entries), the edge of the meniscus should meet the top of the fill ring. If you fill the jars with warm honey fill them just above the leveling mark and when the honey cools it will shrink or you can easily remove some honey with a syringe.
- If the honey is too thin (with too much moisture), remove the lid and place in a dry warm room or near a dehumidifier which will remove some excess moisture.
- Don’t put honey in a carry-on if you fly as it is likely to be confiscated as a threat to national security (in the U.S. only a certain amount of liquid can be brought on in a carry on). Consider giving extracted honey entries to a friend who is driving with your handling instructions and packing. Cut comb honey can be brought on in a carryon bag
- Replace caps on jars. Just before entry time, remove caps from the entries with 3 perfect caps (you can tie the caps individually in a nylon knee high). Alternatively, you can use a piece of plastic wrap underneath the lids and folded over the tops to prevent scratches.
- Polish the jar at the entry table with a nylon cloth to remove finger prints. A little methylated spirits or denatured alcohol is ideal for cleaning glass and the smell will disappear quickly.

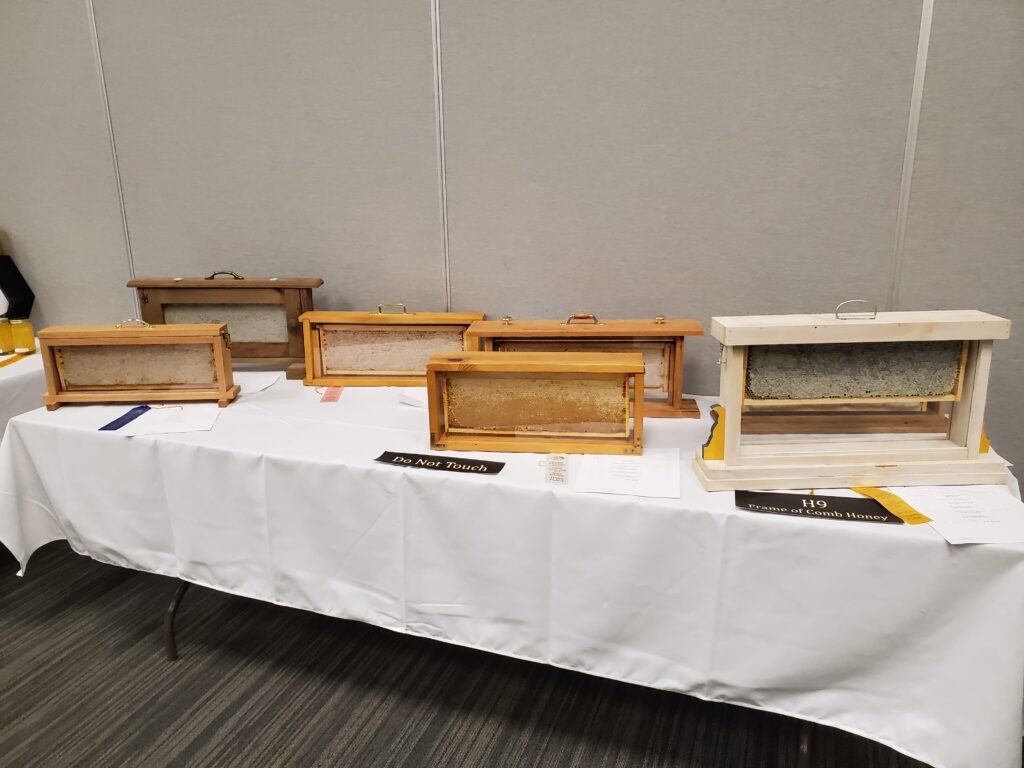
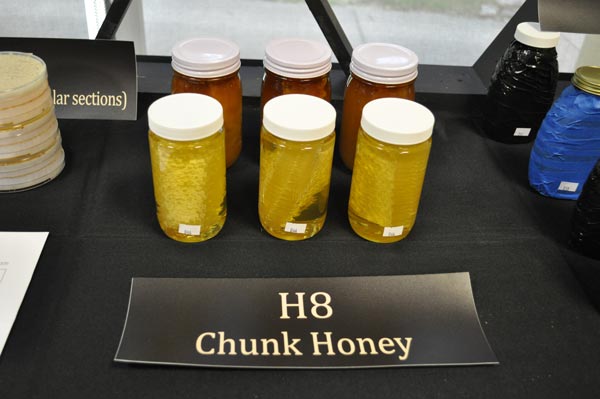
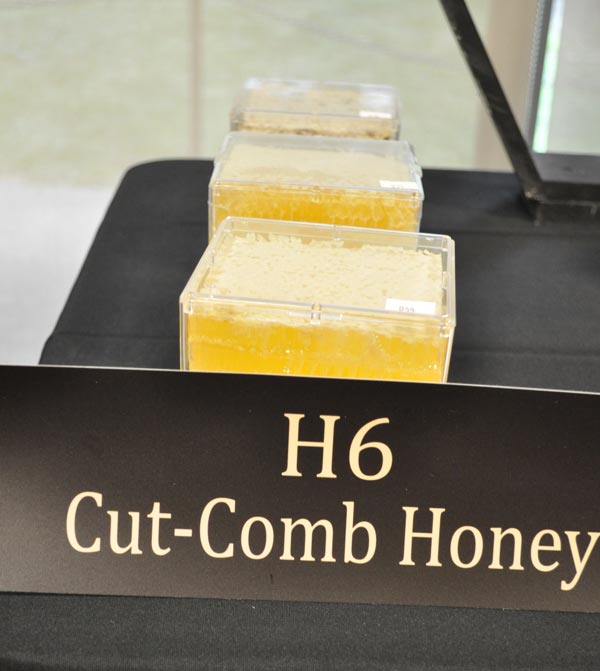
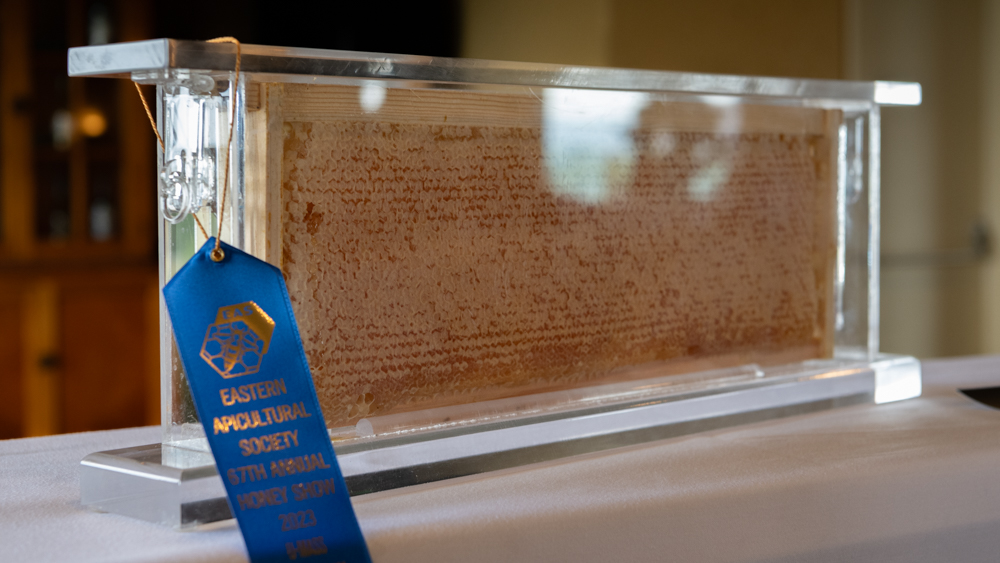
Preparing Chunk and Comb Honey
- Chunk Honey should include 50% comb. Be sure the comb is facing the correct way up.
- Use comb from the same honey as in the jar.
- Some place cut comb into a new container just before entry, however if prepared correctly you should not have any honey that leaked on the bottom of the container.
- Clean the comb honey display frames. The frame can be scraped carefully with a knife or a blade. Remember the frame is a like plate with the honey being the food, so no dirty plates.
Preparing Creamed Honey
- Be sure to have the right consistency for Creamed Honey. A good test for ideal texture would be to take the lid off the jar and place the honey on its side. The honey should show a slight bulge like that on a wheel of a car and not run out or stay flat.
- Jars of creamed honey should be filled to the top edge of the fill ring.

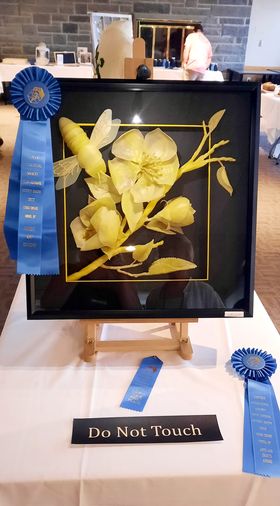
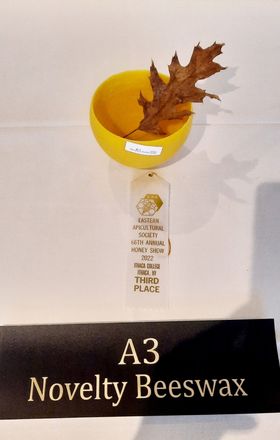
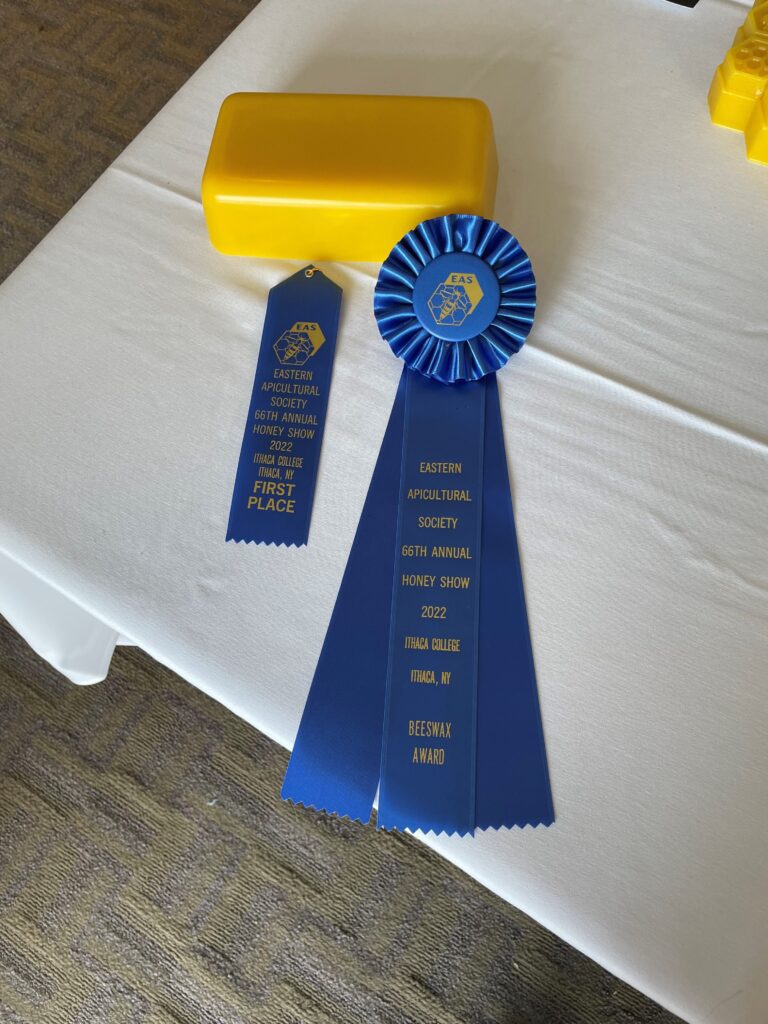
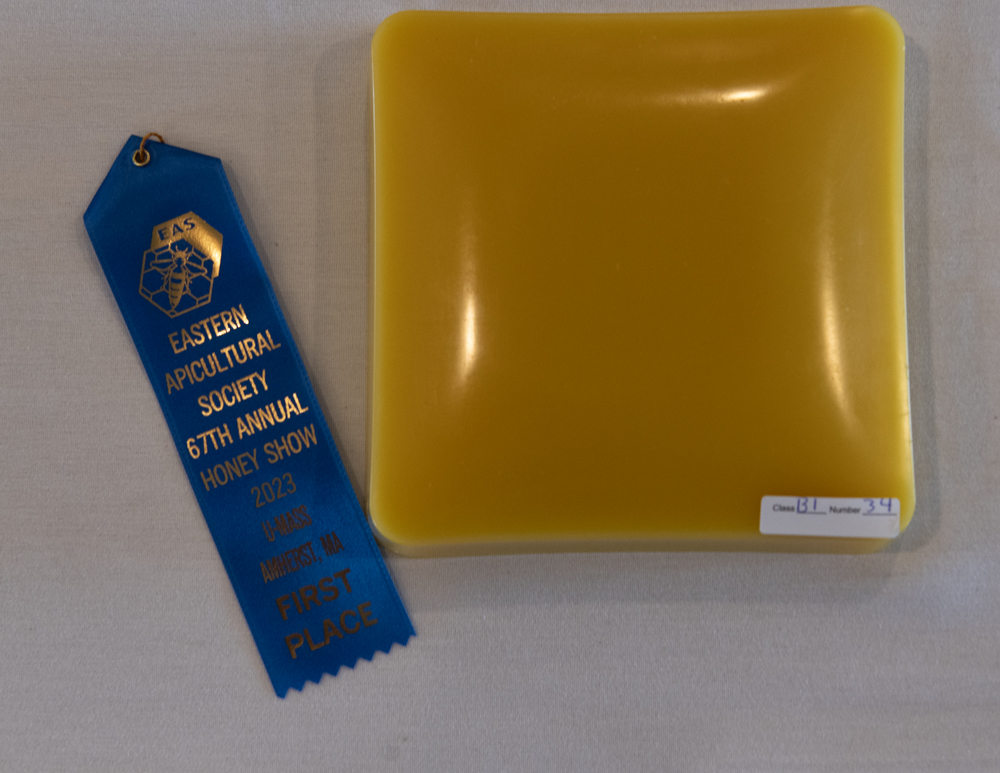
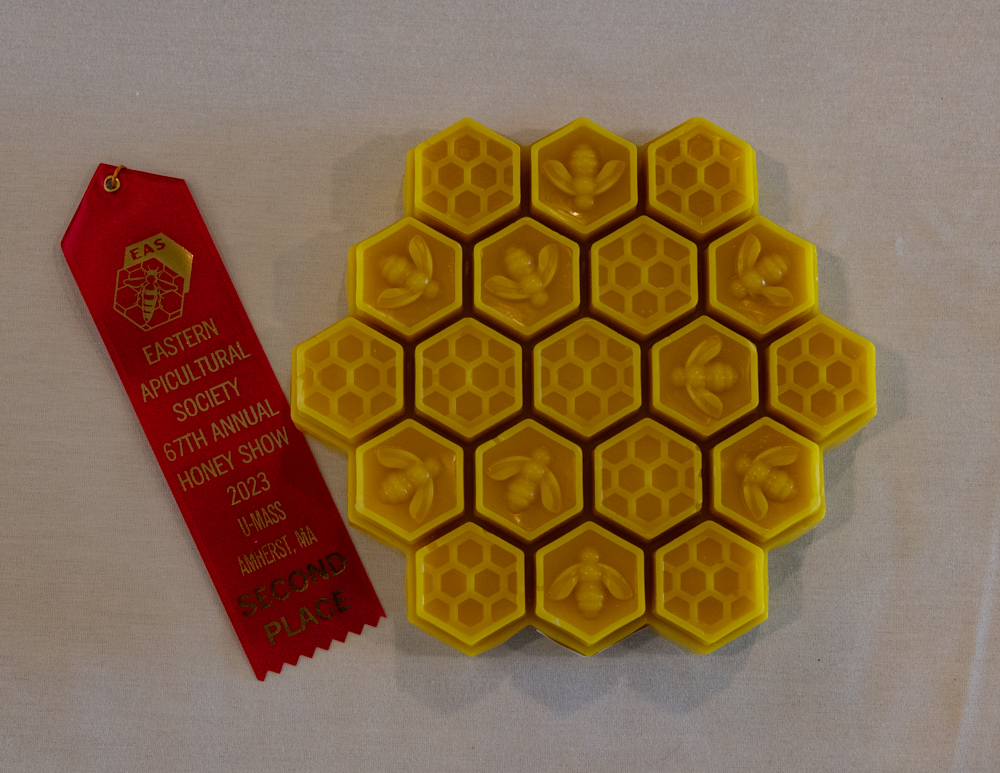
Preparing Beeswax
- Be careful when heating wax. Too much heating of the wax removes the aroma and darkens the wax. Try not to go much past the melting point.
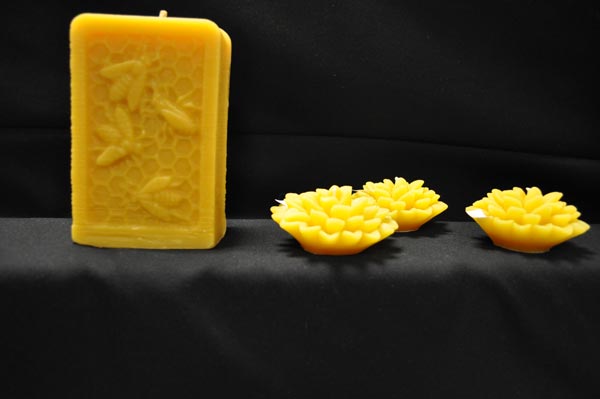
- If using silicone molds place these in the freezer for 30 minutes to get them ice cold. This will give your candle a perfect surface crisp and clean.
- Wicks on candles should be centered.
- For poured and molded candles, wicks should be trimmed properly and uniformly (½ in) with a slight tilt for ease of lighting.
- Try to use a braided wick that has been dipped first in wax. This gives a better and more even burn.
- Wrap candles in silk or fine tissue paper to prevent scratches. When you take candles out of an ice chest the “bloom” disappears on warming up, or you may rub the candle with a nylon or silk cloth or your palm of your hand; rub left to right and not in circles.
- Finish your candle bottoms. The biggest mistake in poured candles is the bottom and holes not filled, not flat, and not “finished.” Put a little dish washing liquid around the side of the candle near the base, but not underneath the base. Place the candle base on a tilted hot saucepan. This will level the base of the candle. The melted wax will not stick to the side of the candle that has the washing up liquid on it.
- Make dipped candles in draft free area. If not, the candles will bend when cooling and there will be a difference in thickness due to the cold part of the candle cooling the melted wax more quickly when being dipped.
- On the bottom, dipped candles should have a last drip.

Other
- Crop photos to maximize the detail of the subject.
- Consider photographs of unusual subjects or angles.
- Make sure your cookies, bars, brownies, rolls, muffins, and candy are all uniform and of the same weight.
- Do not use any bottles with date marks or lettering stamped on the mead bottles.
- Use mead bottles that are colorless with no tints.
- Protect your products in a hot vehicle. Extracted honey can expand and leak. Creamed honey will go soft. Candles will warp. Keep comb honey containers in plastic bags so condensation that appears as they warm up will be on the bag, not on the comb package.
EAS Thanks Ann Harman, Mike Palmer and Michael Young MBE for contributing to the tips and tricks.